

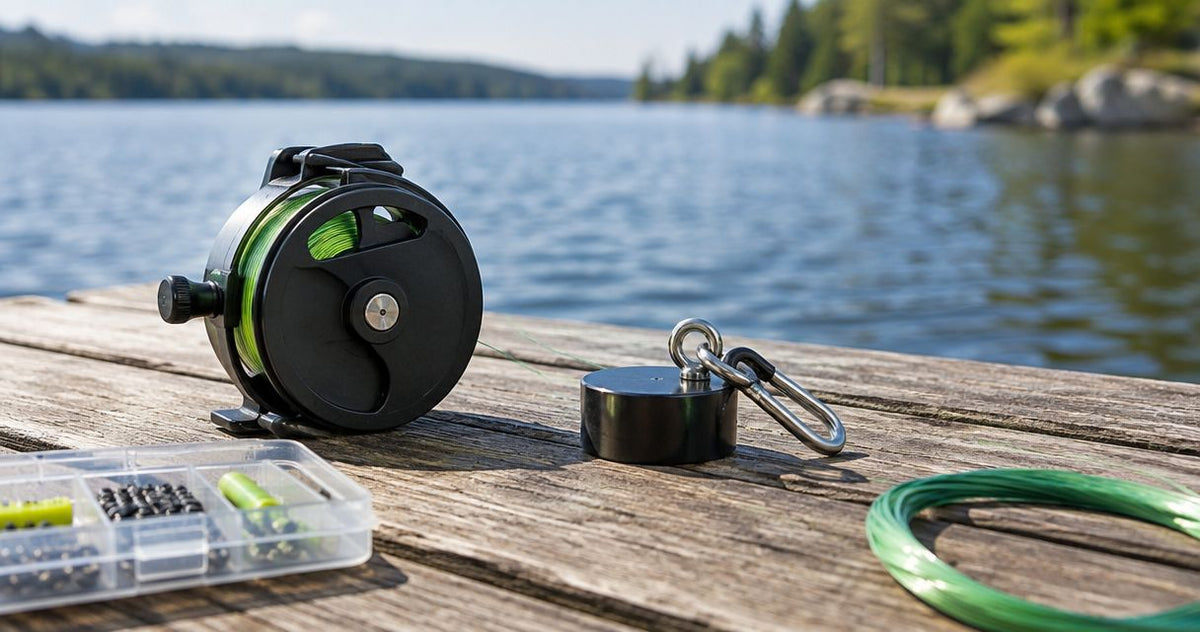
Instead of rebuilding tiny-lure rigs every time you reach the water, prepare your goreel mini magnet kit setup with a straight-rigged lure, a tested knot, and controlled line release. Pair the GoReel with your Mini Magnet Kit for close-range handline fishing, then add a float only when you need a suspended presentation.
- For a goreel mini magnet kit setup, start with a straight lure and a tested knot.
- Crystal Creek Gear's GoReel suits anglers who want compact, close-range handline fishing.
- Tiny lures need controlled placement; extra tackle does not automatically improve presentation.
- Check hook size against the fish you target, especially for true micro fishing.
Why this matters
Small tackle makes a portable fishing setup useful, but small tackle alone does not make it effective. A crooked lure spins, loose line tangles, and an oversized hook defeats the purpose when you target tiny fish.
Crystal Creek Gear's GoReel is best for anglers who want compact, close-range handline fishing. Start with the GoReel Hand Reel & Line Lock if you want the reel component for a setup you assemble yourself. Its benefit is a rodless format; the trade-off is that your hands manage line release, retrieval, and tension without a rod tip.
This guide treats micro fishing as deliberate fishing for very small fish, not simply using a little lure. Check the actual hook and lure in your Mini Magnet Kit before rigging. The fish's mouth size matters more than the kit's name.
For your 2026 fishing trips, build around accessible water and a manageable presentation. Ditching the rod changes how you place the lure and handle a fish. It does not remove the need for careful tackle selection.
Before you start
- Bring the actual components: your GoReel, fishing line, the Mini Magnet Kit, line cutters, and a tool for removing hooks. Examine the kit's hooks and lures before choosing a rig; use the instructions supplied with your tackle for any component-specific assembly.
- Confirm access and rules: check your license, landowner permission where needed, and the applicable 2026 regulations for that water. Look specifically for permitted fishing methods, tackle restrictions, protected species, and retention rules.
- Pre-empt the casting problem: a tiny lure carries little casting momentum, and a hand reel has no rod to load during a cast. Pick a spot where you can lower or gently place the lure nearby, rather than discovering that your intended fishing spot needs a long cast.
Choose stable footing and keep hooks away from people, pets, and walking routes. Do not wrap fishing line around your fingers or hand. A compact rig still has a sharp hook and a line that can tighten suddenly.
Line preparation
- Inspect the working line. Draw the section you will fish with through your fingers gently, staying clear of the hook. Look for nicks, flattened sections, abrasion, and tight coils. Remove damaged line before tying on tackle.
- Check the line's path. Follow the GoReel's supplied instructions for holding the reel and releasing line. Remove any transport restraint before fishing, and confirm that the line is not trapped beneath stored tackle or crossed over itself.
- Clear a release area. Keep loose line on a clean surface or in a contained space where it cannot catch vegetation, footwear, or pack straps. Release only the amount you can manage for the nearby presentation.
- Test with the hook secured. Put the hook somewhere safe, then gently draw line from the reel. Stop if a loop snags or the line jerks. Fix that problem before adding the lure to the water.
Expected result: the working line leaves the reel without catching, and the section nearest the lure is undamaged.
Keep line choice separate from lure choice. A small lure is not a reason to spool the thinnest line you can find. Choose line appropriate to your tackle instructions, abrasion hazards, and expected fish, then check whether it passes through the hook eye and accepts a sound knot.
Heavy, stiff line can interfere with a tiny presentation. Very fine line demands more care around rough edges. Neither trade-off disappears because the reel fits a compact fishing routine.
Mini Magnet lure rigging
- Choose the hook first. Select a hook-and-lure combination appropriate to the fish you intend to catch. If the fish cannot take the hook into its mouth, a smaller-looking body alone will not solve the mismatch.
- Match the body to its head. If your selected tackle uses a separate soft-plastic body and jig head, follow its supplied rigging instructions. Start the hook centrally in the body, thread it without bunching, and leave the body straight rather than twisted around the shank.
- Tie directly when appropriate. Use a knot suitable for your line and the tackle's attachment eye. For compatible monofilament and a suitable eye, an improved clinch knot is a familiar option; make 5 turns around the standing line, pass the tag through the loop beside the eye and then the larger loop, moisten, and tighten carefully.
- Check the finished connection. Pull steadily on the line while holding the tackle safely. Inspect the knot for slipping or damaged line. Trim the tag without cutting into the knot, and make sure the hook point remains exposed.
Expected result: the lure hangs straight, the knot holds under a careful pull test, and the hook point is unobstructed.
Start with 1 hook for this workflow. It keeps the rig easier to inspect and reduces exposed points while you learn line handling. Follow local rules if they impose a different restriction.
Do not add a swivel, snap, or extra weight by habit. Every additional component changes the rig and introduces another connection to inspect.
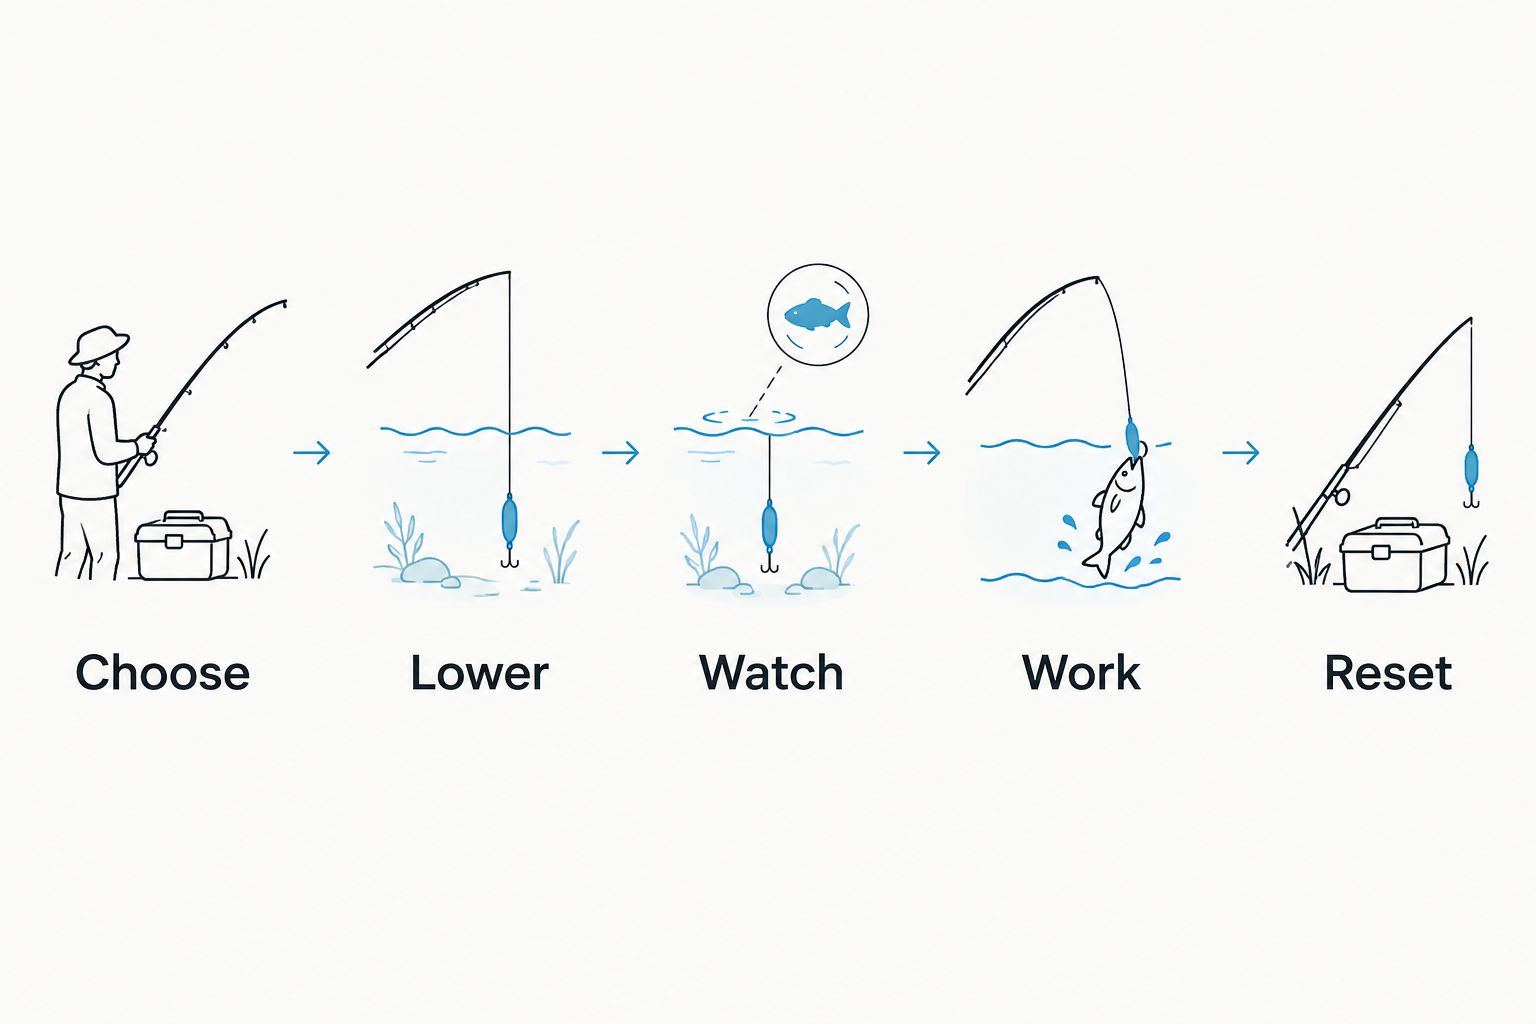
Close-range presentation
- Choose a reachable lane. Look for nearby open water beside visible cover, an accessible bank edge, or a safe platform where fishing is permitted. Avoid a spot that requires leaning over an unstable edge.
- Lower before you cast. Let the lure enter the water gently, keeping the hook away from your body. Begin with a placement you can repeat without tangling loose line.
- Watch the lure. Observe whether it sinks straight, rolls, or twists the line. If it spins, retrieve it and straighten the body before trying again. Do not compensate for a crooked lure with a different retrieve.
- Work with small movements. Lift gently, pause, and let the lure settle. Maintain enough contact to notice a change in tension without constantly dragging the lure away from the fish.
- Reset after each attempt. Retrieve loose line into a controlled area. Inspect the lure after a bite, contact with cover, or a missed fish before presenting it again.
Expected result: you can place the lure nearby, observe its movement, and retrieve without loose line catching around your feet.
Use this sequence as your 2026 practice routine: preparation first, movement second. A clean presentation tells you more than repeatedly changing tackle while the lure is still spinning.
Bite response and retrieval
- Keep contact without wrapping. Hold and manage the line without looping it around your fingers, wrist, or hand. Keep a clear path between the water and your controlled line area.
- Respond with a controlled lift. When a fish takes the lure, tighten smoothly rather than making a hard overhead sweep. There is no rod tip to cushion that movement.
- Retrieve steadily. Bring line in while maintaining control, placing retrieved line where it will not tangle. If a fish pulls hard, do not lock the line against your skin or try to overpower it.
- Land within reach. Use a suitable landing net when needed. Do not lift a fish onto a high bank by the line or reach across an unsafe edge to grab it.
- Handle and reset. Wet your hands before handling a fish you intend to release, support it, and minimize handling time. Check the hook, knot, and line before the next presentation.
Expected result: the fish comes within safe handling reach, and the rig returns to use only after inspection.
Crystal Creek Gear's hand reel format gives you direct line handling, but that also puts responsibility for tension in your hands. Stop fishing a spot when safe landing is not possible. Portability is useful; a poor landing position is not.
Suspend the lure when fish hold above the bottom
A float-supported presentation is an adjacent workflow for keeping the lure above bottom cover and watching for bites. It adds a visible reference but also adds tackle to manage. For 2026 sessions, choose between these 2 rig styles based on the presentation you need, not the number of accessories you can carry.
| Rig style | Best for | Advantage | Limitation |
|---|---|---|---|
| Direct lure | Reachable open water and controlled lowering | Fewer components; direct contact with the lure | Tiny tackle offers little casting momentum |
| Float-supported lure | Suspending a lure above bottom cover | Visible bite reference and adjustable fishing depth | Float attachment and depth need checking |
To switch workflows:
- Choose a float suitable for supporting the tackle you are using.
- Attach it according to its own instructions. Check whether its design requires a stop, attachment point, or separate leader arrangement.
- Set the hook below the float at a depth that keeps it clear of the bottom cover you can identify.
- Test beside the bank. Confirm that the float supports the rig and that the lure remains straight.
- Recheck the knot and line path before placing the rig farther away.
The A-Just-A Bubble – Mini (Clear) is a casting-bubble option for presenting flies, jigs, or live bait. Follow its own instructions rather than assuming it attaches like a clip-on float. Its appeal is another presentation option; its trade-off is another component to configure.
These Crystal Creek Gear components cover the hand reel and an optional bubble. The bubble is not a substitute for checking your Mini Magnet tackle.


Troubleshooting
- The lure spins during retrieval. Retrieve and inspect the body. Re-thread a crooked soft plastic, remove trapped vegetation, and check whether the attachment is pulling the lure sideways. Test nearby before fishing again.
- The lure will not reach the spot. Move to safely accessible water or use a presentation designed for your tackle. Do not force a tiny lure into repeated hard casts or add weight without checking how it changes the presentation.
- Fish approach but cannot take the hook. Examine hook size against the fish's mouth and check for an obstructed point. Change to appropriately sized tackle rather than assuming another color will fix a physical mismatch.
- Loose line catches during release. Stop, secure the hook, and clear crossed loops. Keep retrieved line away from boots, weeds, and bag straps. Restart with a shorter, manageable presentation.
- The float disappears without a bite. Test the rig nearby and check whether the tackle exceeds the float's support or has snagged bottom cover. Correct depth and support before treating every submersion as a fish.
Change the obvious fault first. Replacing the lure, adding a float, and changing location together makes it harder to identify which adjustment helped.
Customize your workflow
Build your portable kit around the water you actually fish. Carry replacement tackle that matches your chosen presentation, a hook-removal tool, and a way to contain used line. Leave unrelated accessories out of the working area.
Before each 2026 outing, repeat the same checks: local rules, line condition, knot security, lure alignment, and safe landing access. A ready-to-use kit is one you have inspected, not just one you packed earlier.
For a deeper packing approach, use the guide to building a custom fishing kit with the GoReel Empty Kit. Keep the working rig simple, then expand only when a specific fishing problem calls for it.
FAQ
How do I set up a GoReel with a Mini Magnet Kit?
Prepare undamaged line, choose appropriately sized tackle from your Mini Magnet Kit, rig the lure straight, and tie a tested knot. Start with controlled close-range placement, then add a suitable float only when you need a suspended presentation.
Does a Mini Magnet Kit automatically work for true micro fishing?
No; the actual hook and lure must fit the very small fish you intend to target. A small-looking lure or a kit name does not establish that the hook fits the fish's mouth.
Do I need a float for a GoReel Mini Magnet setup?
No; a direct lure presentation works for controlled lowering into reachable water. A suitable float adds a visible bite reference and helps suspend the lure above bottom cover, but requires its own attachment and depth checks.
Why does my tiny lure spin on a handline?
A crooked soft-plastic body, trapped vegetation, or an off-center attachment can make a lure spin. Retrieve it, correct the alignment, and test beside the bank before continuing.
Can I cast a tiny lure a long way with a GoReel?
Do not build this workflow around a long cast with tiny tackle. Small lures carry little casting momentum, so begin with reachable water and controlled placement rather than forcing distance.
How should I respond to a bite without a rod?
Tighten the line with a controlled lift and retrieve steadily without wrapping line around your hand. Avoid a hard sweep because there is no rod tip to cushion the movement.
What should I check before handline fishing in 2026?
Check the applicable 2026 regulations, access permission, and license requirements for the water. Then inspect your line, knot, hook, lure alignment, and safe landing position.
One last thing
Test the lure where you can see it before fishing where you cannot. That quick check exposes crooked rigging, poor float support, and snagging depth before you mistake a tackle problem for uninterested fish.
Less gear, more connection to the water starts with a rig you can control. Keep the hook appropriate, the line clear, and the landing spot safe.


